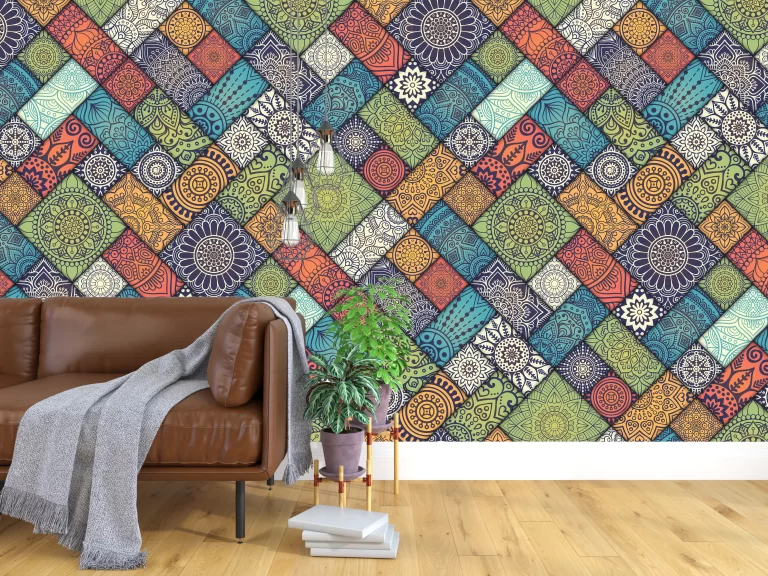
Wall paper installation serves as a transformative process that can enhance the aesthetic appeal of any space. While professional installers are adept at achieving flawless results, many DIY enthusiasts are eager to tackle wallpaper installation projects themselves. This guide explores various user-friendly wallpaper installation techniques, providing insights and tips for achieving professional-looking results with ease.
Installation Techniques:
Several user-friendly wallpaper installation techniques can help DIY enthusiasts achieve professional-looking results:
Paste-the-Wall Method:
- With the paste-the-wall method, adhesive is applied directly to the wall rather than the back of the wallpaper.
- Start by applying adhesive evenly to the wall surface using a paint roller or brush.
- Carefully align the first wallpaper panel with the edge of the wall and smooth it out using a wallpaper brush or smoothing tool.
- Continue applying adhesive and affixing subsequent panels, ensuring that each panel is aligned and free from air bubbles.
- Trim any excess wallpaper at the ceiling and baseboard using a sharp utility knife.
Peel-and-Stick Wallpaper:
- Peel-and-stick wallpaper features a self-adhesive backing that eliminates the need for traditional wallpaper paste.
- Begin by peeling off a small section of the backing and aligning the wallpaper with the edge of the wall.
- Slowly peel away the backing while smoothing the wallpaper onto the wall surface, ensuring a bubble-free application.
- Use a wallpaper smoother or squeegee to press out any air bubbles and ensure a secure bond.
Overlap and Double-Cut Method:
- The overlap and double-cut method is ideal for patterned wallpapers with intricate designs.
- Allow each wallpaper panel to overlap slightly at the seams, ensuring that the pattern matches seamlessly.
- Use a sharp utility knife to trim the excess overlap, cutting through both layers of wallpaper to create a precise seam.
- Carefully remove the excess paper to reveal a perfectly aligned seam between panels.
Finishing Touches:
Once the wallpaper is installed, apply a clear seam roller or smoothing tool to ensure secure adhesion and smooth out any remaining air bubbles. Use a damp sponge to gently wipe away any excess adhesive from the surface of the wallpaper. Allow the wallpaper to dry completely before reattaching outlet covers and trim pieces.
Conclusion:
By following user-friendly wallpaper installation techniques and meticulous preparation, DIY enthusiasts can achieve professional-looking results and transform their spaces with ease. Whether using the paste-the-wall method, peel-and-stick wallpaper, or overlap and double-cut technique, attention to detail and patience are key to a successful installation. With the right tools and techniques, even novice DIYers can elevate their interiors with stylish and sophisticated wallpaper treatments.